I’m betting you, too, have known the heartache of having a perfectly flat quilt top end up with wavy edges because you stretched and pulled too much while adding the binding. I used to just “stay stitch” around the outside edge to stabilize it. But this didn’t really do the trick. And competition judges hate seeing wobbly/wavy edges!
I was in a quilt class taught by David Taylor. He’s fabulous! If you have the opportunity, take a class – any class! – from him. I learned as much from his tips/tricks about quilting as I did about the class topic (which happened to be hand applique). He pointed out that the way he stabilizes the edges of his quilts is to add 1/4″ twill tape.

add 1/4″ twill tape to your quilt edges
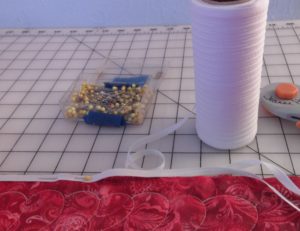
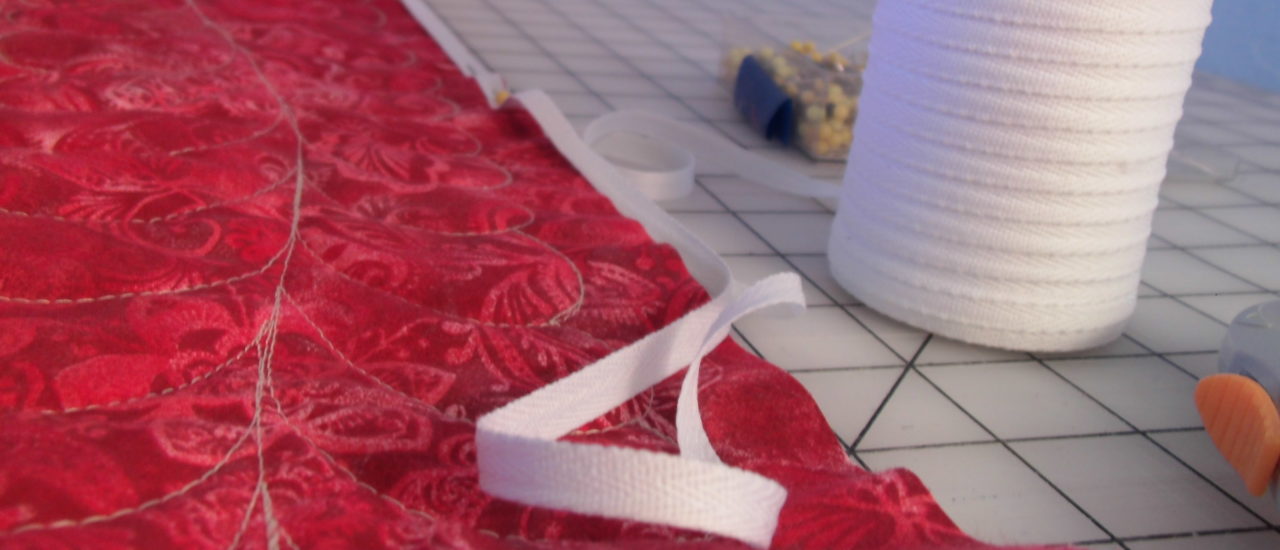
Twill tape is a solid woven strip that does not stretch. Carefully pin the tape to the edge of your quilt, making sure you do not stretch the edge AT ALL. When you sew through the middle of the tape, it becomes a reinforcement to the edge of your quilt. You always pull your quilt edge a fair amount when adding the binding. This extra step gives your quilts that flat, professional edge that you see on the quilts hanging at shows.
Think about this: if you’re going to sew your binding to the front of the quilt and then fold it to the back, you want to add the twill tape to the back of the quilt. This way, your binding folds over the tape. The reverse is also true: if you intend to sew the binding to the back and fold it to the front, then you’ll want to put the twill tape on the front of the quilt.
I buy my twill tape online in larger quantities. The little packages would be way too expensive to buy even for a single quilt. I mean, suppose you have a queen sized quilt, 78 x 98. That’s almost 10 yards of twill tape for just one quilt. When I buy an 800 yard spool, that’s enough to last even me a couple years.
Happy quilting!
