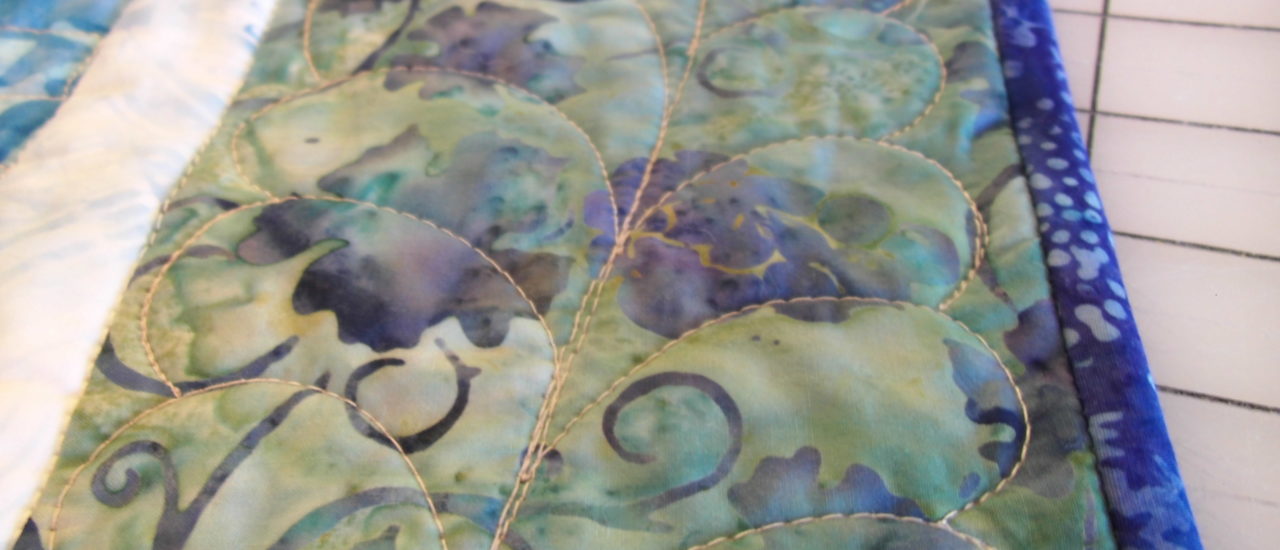
Whether you quilt for competition, or you just want a quilt that really stands out, you are likely working on customized quilting designs. Some designs are easy to just quilt all over the quilt and through the border. And then you’ve got your highly customized designs where the border has its own customization.
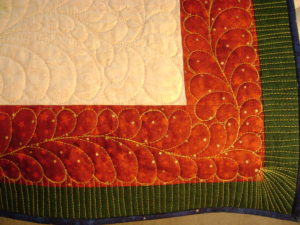
Christmas Pinwheel, 2014
I love quilted feathers! This quilt has special quilting motifs in every section across the entire piece. By the time I finished the rolling feather in the red border, I was tired of quilting and ready to be done with it! I was going to leave the green border empty, but it looked unfinished. So I decided to fill the outer border with a design that could easily flow into the binding.
But suppose you want to put feathers or some other design in your outer border? You don’t want the edges of the feathers to be cut off by the binding. What is the best way to mark/measure your quilt top so that your design fills the space without running the risk of flowing into the binding?
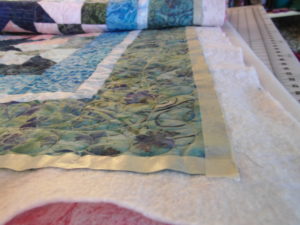
1/2″ masking tape on the edge to guide quilting
I put 1/2″ masking tape all around the edge of the quilt. I can sew my design right up to the edge of the tape. I know that when I trim the quilted top, I won’t take off more than a 1/4″. And then I want to allow a 1/4″ for the binding. So a 1/2″ masking tape is perfect!
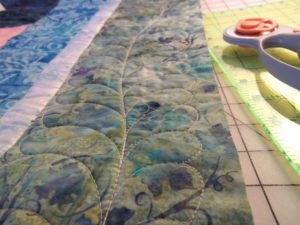
quilt trimmed and my feather has plenty of room
You can see that there is ample room for the binding and no risk of clipping the curves off my feathers.
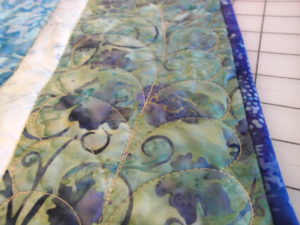
Feathers intact with finished binding
So don’t avoid those specialized border quilting designs. And don’t worry about a bunch of math or trying to mark your top. The masking tape goes on easily and comes off quickly.
You’re close to finishing your quilt!
By the way – quilt judges love customized quilt designs. Just sayin’.
